About:
Telnet is a protocol that helps you to connect to remote computers and local network computers over a TCP / IP ports or networks. In windows operating system, telnet client is disabled by default. So, you need to enable it from windows features.
Steps:
- Click Start and then Go to Control Panel .
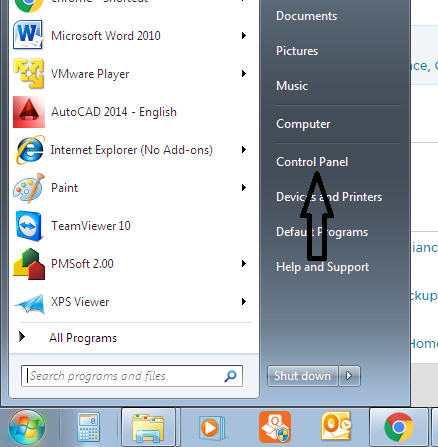
- Click Programs and Feature and Open Turn Windows feature on or off .
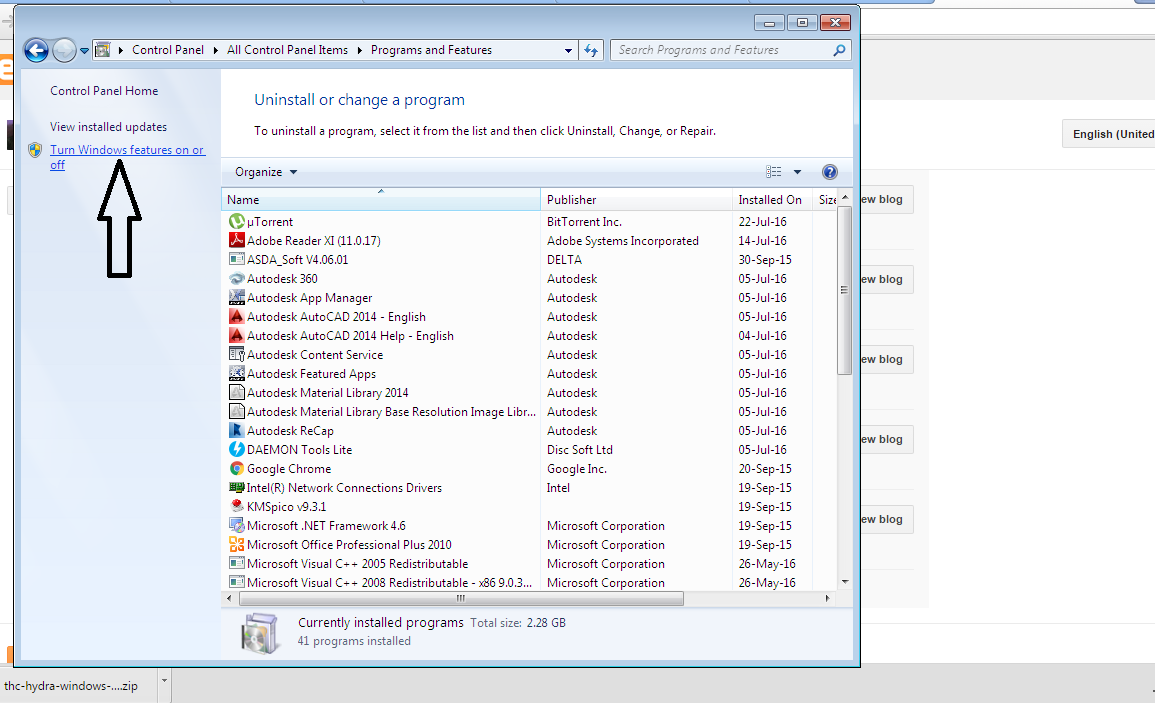
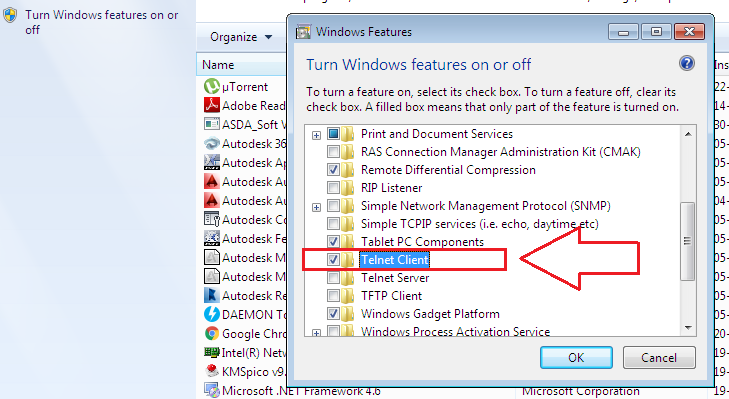
- Check Telnet Client check box form Windows Features dialog box and click OK. System will install necessary files to your system by itself.
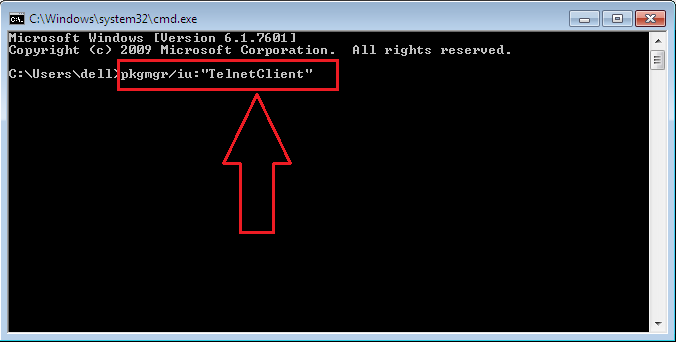
- To start telnet in command prompt, Open CMD from Start menu and execute this command once, pkgmgr/iu:”TelnetClient” and press enter.
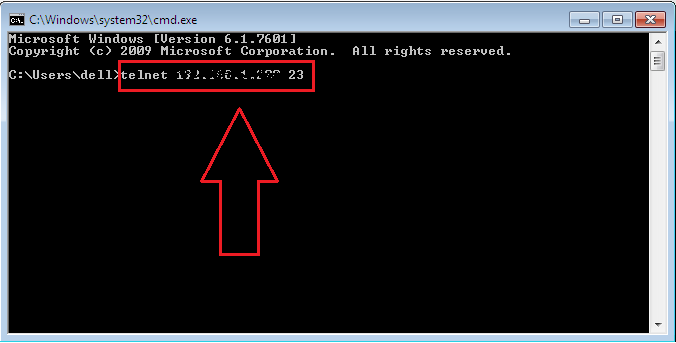
- Now you can start using telnet client to connect to remote computer or webpage, For that input command ‘telnet’ followed by IP address/ webpage with telnet port i.e 23 in my case. example: telnet 192.168.1.200 23
 ( Note : System may ask for user ID and password to connect proposed remote computer. )