Introduction:
In this tutorial we will learn how to interface a MPX5010 pressure sensor with Arduino uno using onboard analog input pin A1 and generate output of sensor on serial monitor for testing then in second example we will print the sensor output on i2c OLED display using u8g2 monochrome graphics library.
MPX5010 Pressure Sensor:

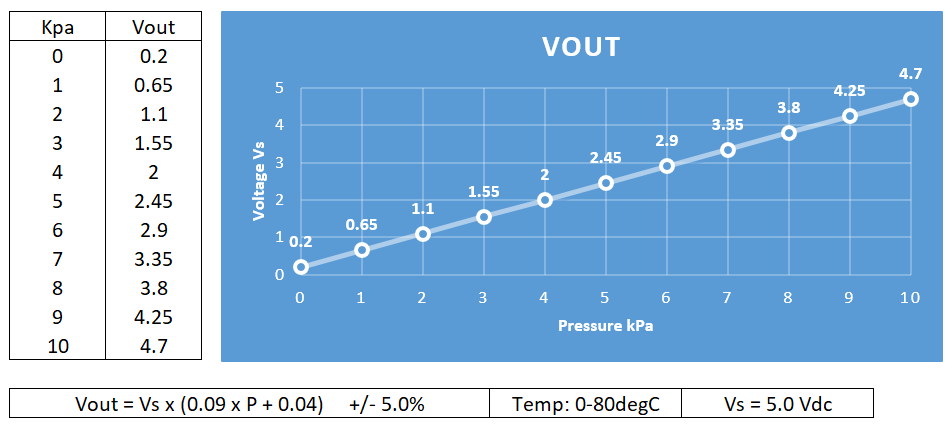
- Working voltage: 4.75v – 5.25v
- Working pressure: 0 – 10 kPa
- Current: 10mA max
- Working Temperature: -40°C-125°C (0-85°C).
- Output: 0.2vdc to 4.7vdc
MPX5010 Sensor Output Calculation and Chart:
Things you will need:
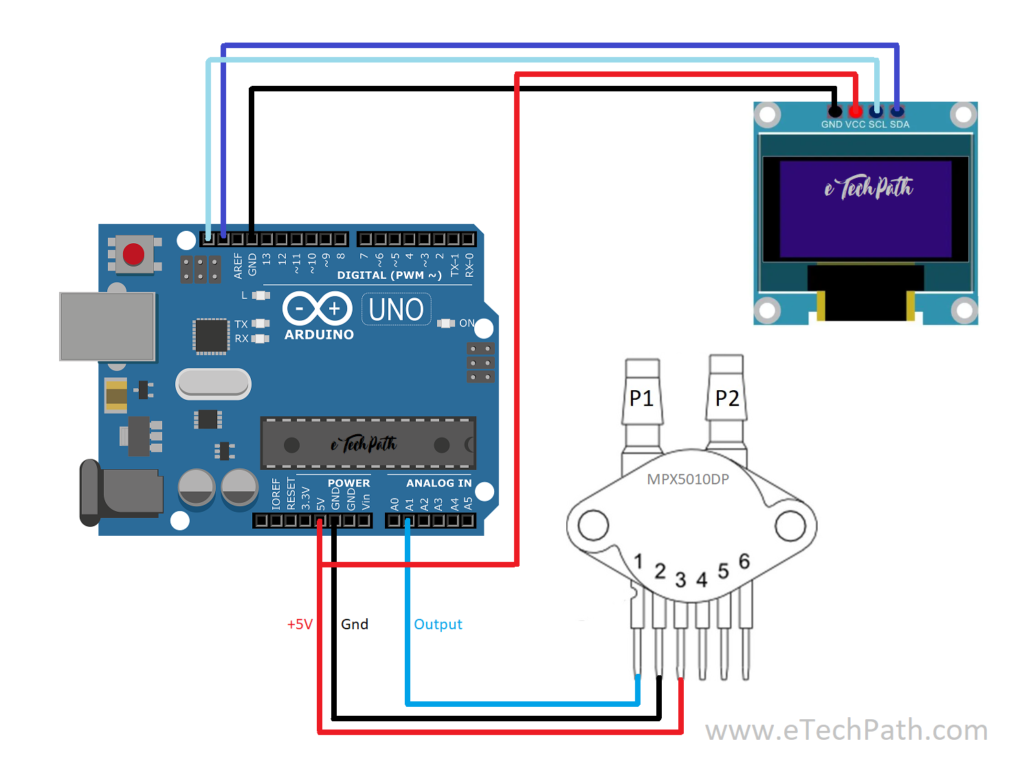
- Arduino Uno or any Arduino board with a spare analog input.
- MPX5010 pressure sensor.
- SSD1306 i2c OLED display.
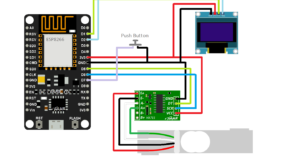
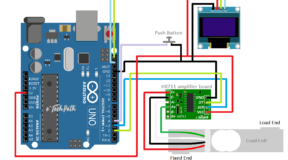
Circuit Diagram:
Example Code 1:
/*
Project: Interfacing MPX5010DP with Arduino Uno.
Project Link:
Website: www.etechpath.com
Author: Pranay Sawarkar
*/
#include <Arduino.h>
void setup() {
// initialize serial communication at 9600 bps
Serial.begin(9600);
}
void loop() {
// read the sensor input on analog pin 1
int sensorValue = analogRead(A1);
// Convert the analog reading of A1 from 0-1023 to a voltage 0-5V
float voltage = sensorValue * (5.0 / 1023.0);
float outputkPa = fmap(voltage, 0.2, 4.7, 0, 10);
float outputmmH2O = fmap(voltage, 0.2, 4.7, 0, 1019.78);
// print out the values on serial monitor
Serial.print("Volt: ");
Serial.println(voltage);
Serial.print("kPa: ");
Serial.println(outputkPa);
Serial.print("mmH2O: ");
Serial.println(outputmmH2O);
Serial.println();
delay(200);
}
float fmap(float x, float in_min, float in_max, float out_min, float out_max)
{
return (x - in_min) * (out_max - out_min) / (in_max - in_min) + out_min;
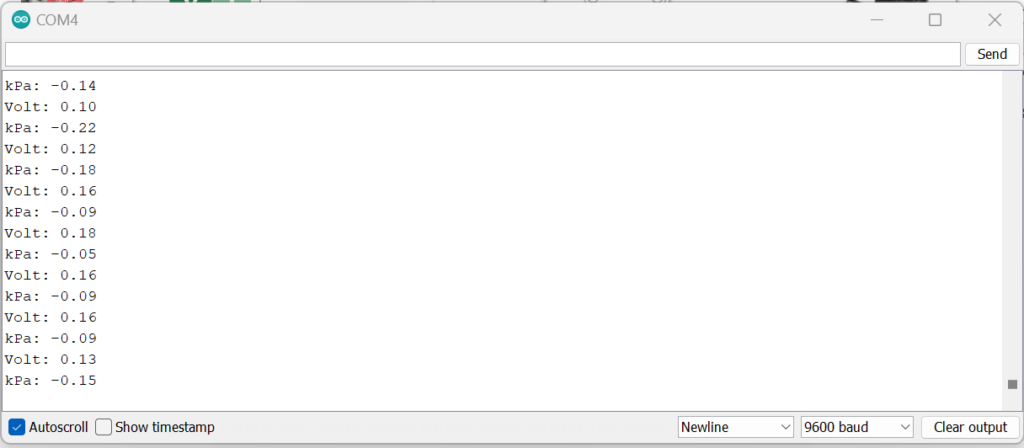
}Example Code 1 Output:
Installing Required Library:
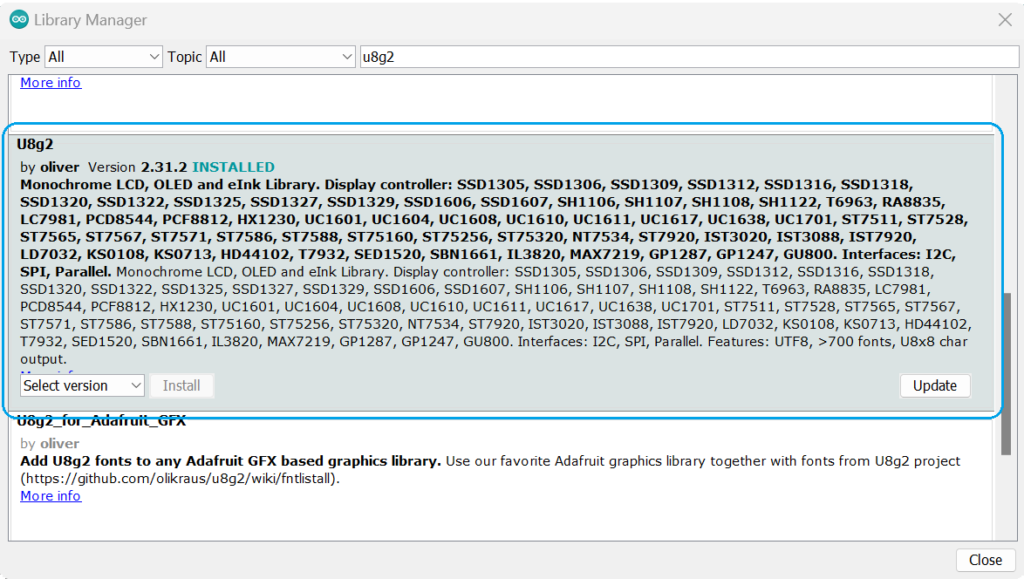
- Goto Sketch -> Include Library -> Manage Libraries (or Shortcut Cntl+Shift+I)
- Search u8g2 in search bar
- Select library U8g2 by Oliver
- Select latest version from dropdown menu and install. (For this project we are using version 2.31.2)
Example Code 2:
/*
Project: Interfacing MPX5010DP with Arduino Uno and OLED i2c display.
Project Link:
Website: www.etechpath.com
Author: Pranay Sawarkar
*/
#include <Arduino.h>
#include <U8g2lib.h>
#ifdef U8X8_HAVE_HW_SPI
#include <SPI.h>
#endif
#ifdef U8X8_HAVE_HW_I2C
#include <Wire.h>
#endif
//select your oled display size
//U8G2_SSD1306_128X32_UNIVISION_F_HW_I2C u8g2(U8G2_R0, /* reset=*/ U8X8_PIN_NONE);
U8G2_SSD1306_128X64_NONAME_F_HW_I2C u8g2(U8G2_R0, /* reset=*/ U8X8_PIN_NONE);
void setup() {
// initialize serial communication at 9600 bits per second
Serial.begin(9600);
u8g2.begin();
}
void loop() {
// read the sensor input on analog pin 1
u8g2.clearBuffer();
int sensorValue = analogRead(A1);
// Convert the analog reading of A1 from 0-1023 to a voltage 0-5V
float voltage = sensorValue * (5.0 / 1023.0);
float outputkPa = fmap(voltage, 0.2, 4.7, 0, 10);
//float outputmmH2O = fmap(voltage, 0.2, 4.7, 0, 1019.78);
delay(50);
u8g2.setFont(u8g2_font_6x10_tf);
u8g2.drawStr(0, 10, "volt:");
u8g2.setCursor(35, 10);
u8g2.print(voltage);
Serial.print("Volt: ");
Serial.println(voltage);
u8g2.drawStr(0, 22, "kPa:");
u8g2.setCursor(35, 22);
u8g2.print(outputkPa);
Serial.print("kPa: ");
Serial.println(outputkPa);
u8g2.sendBuffer();
delay(50);
}
float fmap(float x, float in_min, float in_max, float out_min, float out_max)
{
return (x - in_min) * (out_max - out_min) / (in_max - in_min) + out_min;
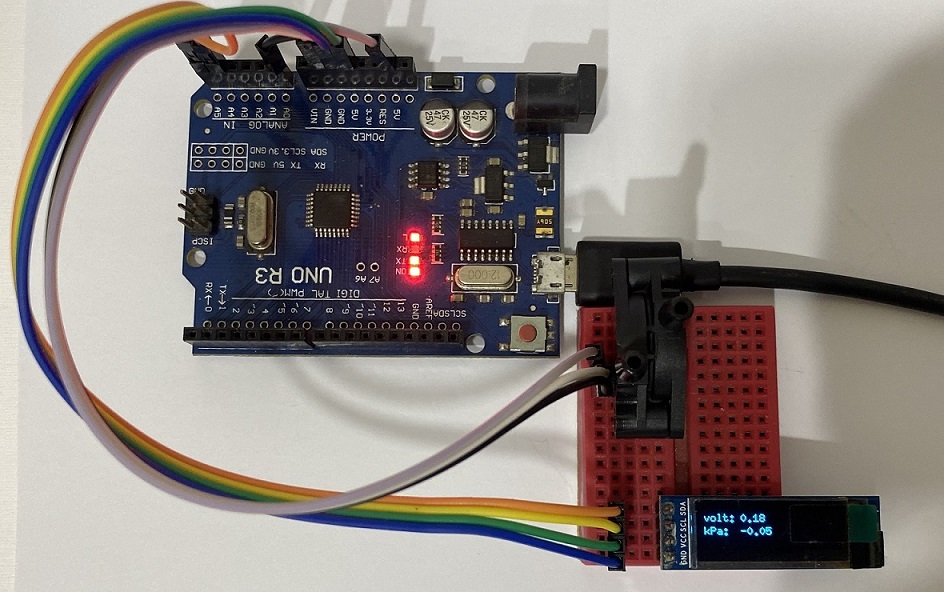
}Example Code 2 Output: